Baked Chicken Parmesan Recipe: Crispy, Juicy And Easy To Make
There’s a reason chicken parmesan shows up on so many dinner tables. It has everything: a crunchy golden crust, tender chicken, a bright tomato sauce and a blanket of stretchy cheese. The classic version is fried, though, and frying means a splattered stovetop, a pan of used oil and a heavier meal.
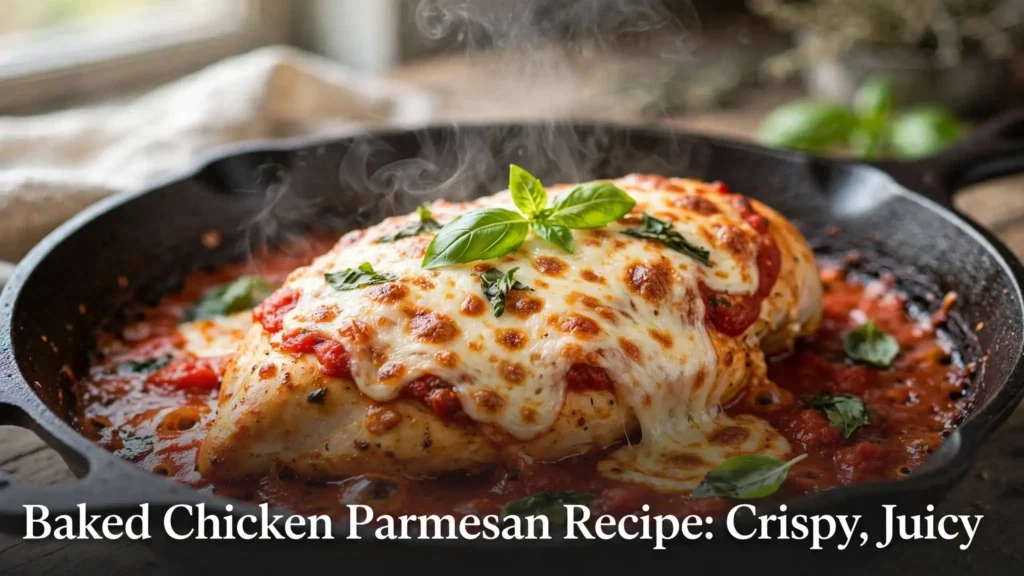
This baked chicken parmesan gives you the same comfort with far less mess. The oven does the work, the crust still turns crisp, and the chicken stays juicy if you follow a few simple steps. I’ve made it more times than I can count, usually on a busy weeknight when I want something that feels special without much effort. Once you have the method down, you’ll find yourself making it again and again.
In this article you’ll find the full recipe, a step-by-step guide to baking it properly, the mistakes to avoid, serving ideas, storage tips, a nutrition overview and answers to common questions.
Baked Chicken Parmesan
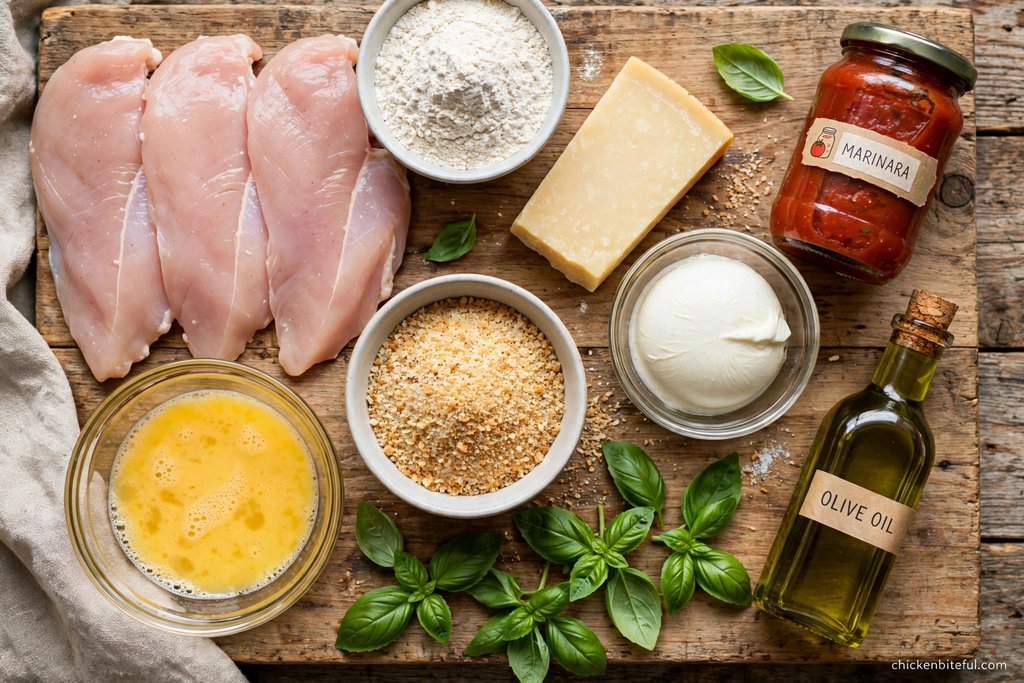
Ingredients
Equipment
Method
- Preheat oven to 425°F (220°C). Grease a wire rack on a baking sheet.
- Slice breasts into 4 cutlets; pound to 3/4-inch thickness. Season with salt and pepper.
- Set up 3 dishes: flour; eggs whisked with milk; panko, Italian breadcrumbs, Parmesan, garlic powder, oregano, paprika.
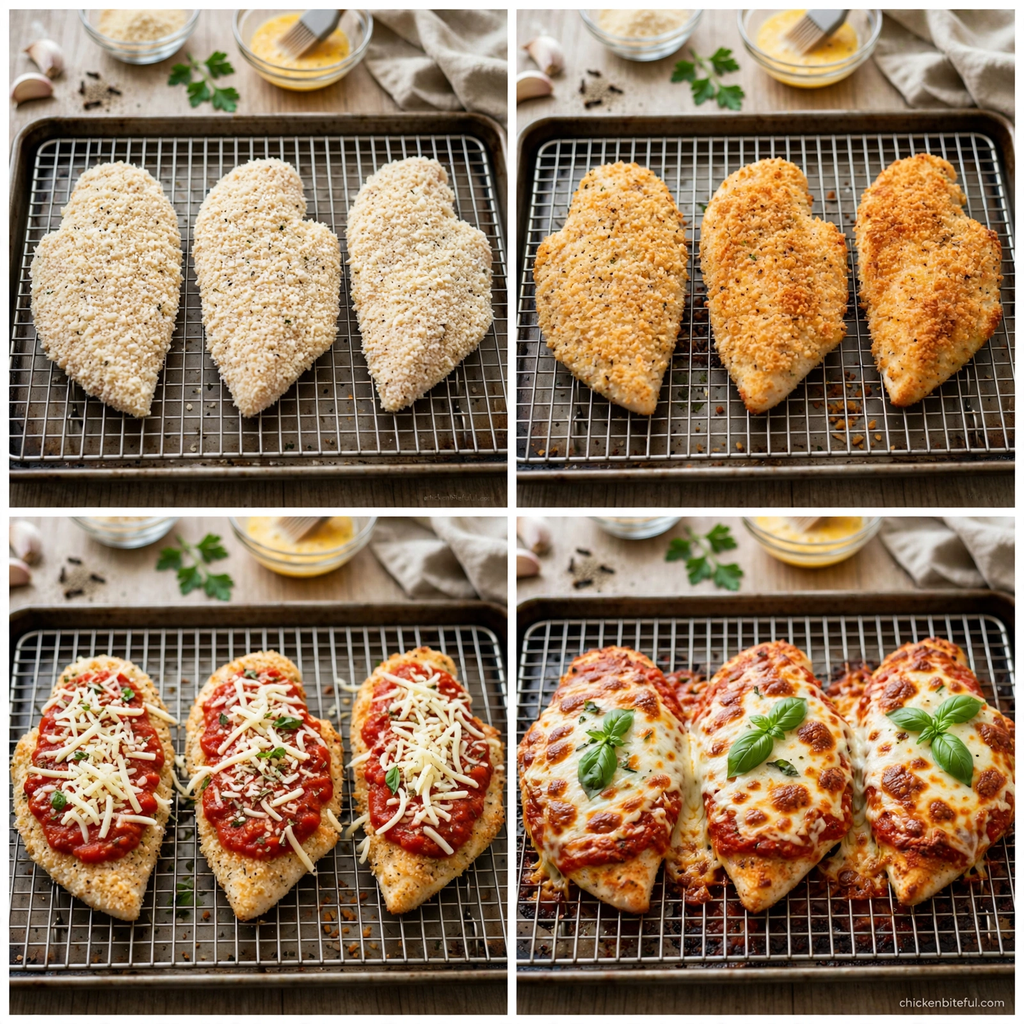
- Dredge in flour, dip in egg, press into breadcrumbs.
- Place on rack; drizzle tops with olive oil.
- Bake 15 minutes until golden.
- Spoon 2 tablespoons warm marinara over center of each cutlet; top with mozzarella and Parmesan.
- Bake 8-10 more minutes until cheese melts and chicken is 165°F.
- Rest 5 minutes; garnish and serve with extra sauce.
Notes
How to Bake Chicken Parmesan (Step-by-Step Guide)
The recipe above gives you the quick version. This section explains the reasoning behind each step, because knowing why something works helps you get it right every time.
Step 1: Start with evenly thick chicken
This is the single most important step, and the one people skip most often. A chicken breast is thick at one end and thin at the other. If you bake it as is, the thin end dries out while the thick end is still raw in the middle.
Fix it in two ways. First, slice each breast in half horizontally so you have two thinner cutlets. Then place each cutlet between two sheets of parchment or plastic wrap and gently pound it with a rolling pin or the flat side of a meat mallet until it’s about ¾ inch thick all over. Don’t flatten it too thin, or it will overcook.
You can use chicken tenderloins or thin-sliced chicken breast from the store to save time.

Step 2: Season at every layer
Bland breading is the most common complaint about baked chicken parmesan. The fix is to season every layer, not just the chicken. A little salt and pepper on the meat, garlic powder, oregano and paprika in the crumbs, and Parmesan mixed right into the coating all add up. The crust should taste good on its own before the sauce goes anywhere near it.
Step 3: Set up a proper breading station
Use three shallow dishes in a row: flour, egg, breadcrumbs. Keep one hand for the dry ingredients and the other for the wet. If you use both hands for everything, you’ll end up with gloves of breading on your fingers.
The flour gives the egg something to cling to. The egg acts as glue for the crumbs. When you reach the crumbs, press them on firmly with your palm instead of just rolling the chicken around. Pressing is what makes the crust stay put during baking.
Step 4: Use panko, and use oil
Panko breadcrumbs are larger and flakier than regular ones, which is why they bake up so crunchy. A mix of panko and Italian breadcrumbs gives you crunch plus flavor.
Since we’re not frying, the crumbs need a little fat to brown. Drizzle olive oil over the tops or use a cooking spray. For extra color, toast the panko in a dry skillet for two to three minutes before breading. It’s an optional step, but it gives you a deep golden crust that looks like it came out of a restaurant kitchen.
Step 5: Bake on a rack at high heat
A hot oven at 425°F (220°C) browns the crust quickly before the chicken has time to dry out. A wire rack set over a baking sheet is what keeps the underside crisp. If you don’t own a rack, bake the chicken on a well-oiled baking sheet and flip the cutlets once halfway through.
Step 6: Add the sauce and cheese late
If you add sauce at the start, the crust becomes soggy. Bake the chicken plain for the first 15 minutes, then top it. Spoon the sauce only on the center of each cutlet so the edges stay crunchy. Then add the mozzarella and a little more Parmesan and return it to the oven.
Step 7: Check the temperature
Chicken is safe to eat at 165°F (74°C). An instant-read thermometer takes the guesswork out and prevents overcooking. Check the thickest part of the cutlet. If the cheese is browned but the chicken isn’t done, tent the pan loosely with foil and bake a few minutes longer.
Step 8: Let it rest
Five minutes of resting lets the juices settle and the cheese set slightly, so it doesn’t slide off the moment you cut into it.
Common Mistakes to Avoid
Skipping the pounding. Uneven chicken cooks unevenly. It takes two minutes and makes a big difference.
Using wet, fresh mozzarella. Fresh mozzarella is delicious, but it releases a lot of water and can make the dish soupy. Low-moisture shredded mozzarella melts better here. If you love the fresh kind, pat it very dry first.
Drowning the chicken in sauce. A little goes a long way. Serve extra sauce on the side so everyone can add more.
Overcrowding the pan. Give the cutlets space. If they touch, steam builds up and the crust softens. Use two pans if needed.
Skipping the oil. Dry breadcrumbs on a baked cutlet look pale and taste dusty. A little oil is what turns them golden.
Overbaking. Dry chicken is the fastest way to ruin this dish. A thermometer is your best friend.
Make It Your Own: Variations
Gluten-free: Swap the flour and breadcrumbs for gluten-free versions. Crushed gluten-free cornflakes or almond flour also work well.
Low-carb / keto: Replace the breadcrumbs with a mix of crushed pork rinds and grated Parmesan. Skip the flour or use a little almond flour.
Air fryer version: Cook the breaded cutlets at 380°F (195°C) for 10 to 12 minutes, flipping once. Add sauce and cheese and cook another 2 to 3 minutes.
Chicken parmesan casserole: Cut the cooked chicken into chunks, toss with sauce and pasta, top with cheese and bake until bubbly.
Spicy version: Add red pepper flakes to the breadcrumbs and use an arrabbiata sauce.
Pesto twist: Spread a thin layer of basil pesto under the mozzarella for extra flavor.
Eggplant parmesan: Use thick eggplant slices instead of chicken for a vegetarian version.
What to Serve with Baked Chicken Parmesan
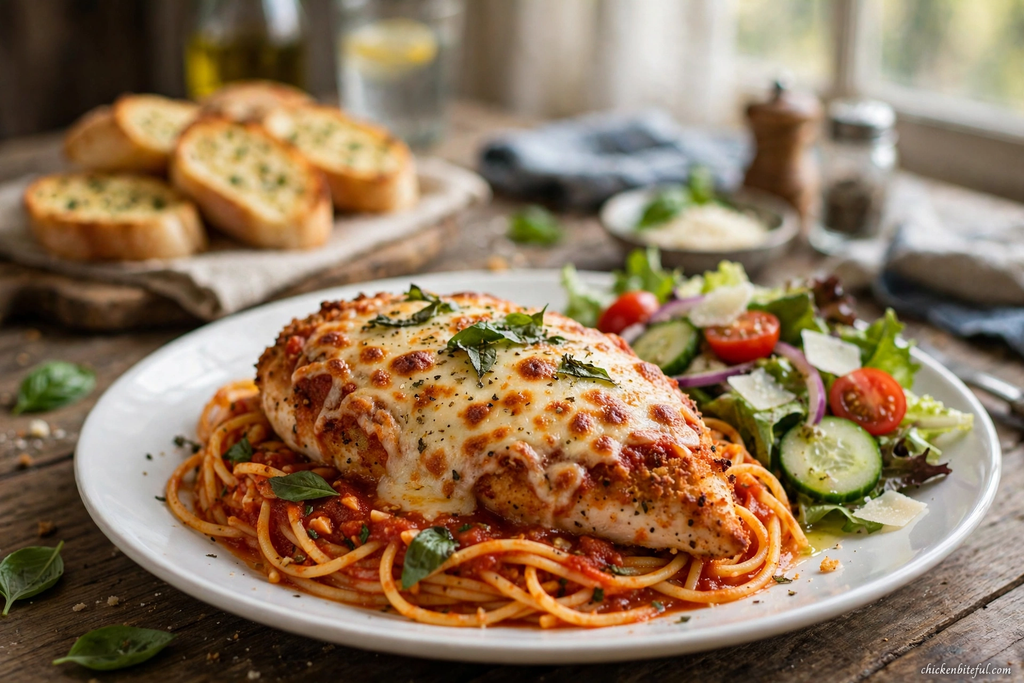
The classic pairing is spaghetti or another pasta tossed in marinara. It’s hard to beat. But there are plenty of other options depending on how heavy you want the meal to be.
- Pasta: Spaghetti, linguine, penne or fettuccine
- Vegetables: Roasted broccoli, garlic green beans or sautéed zucchini
- Salads: A crisp Caesar or a simple arugula salad with lemon dressing
- Bread: Warm garlic bread for mopping up extra sauce
- Lighter sides: Zucchini noodles, cauliflower rice or steamed asparagus
- Potatoes: Creamy mashed potatoes or roasted baby potatoes
A glass of Chianti or Sangiovese pairs nicely if you’re serving it to guests.
Storage, Reheating and Make-Ahead Tips
Refrigerating: Cool leftovers completely, then store in an airtight container for up to 3 to 4 days. If you can, store the sauce separately to keep the crust from going soft.
Reheating: The oven is best. Place the chicken on a rack at 350°F (175°C) for 10 to 15 minutes until hot. The microwave works in a pinch but will soften the crust. An air fryer at 350°F for 5 to 6 minutes brings back much of the crunch.
Freezing (uncooked): Bread the cutlets, freeze them in a single layer on a tray, then transfer to a freezer bag. Bake from frozen at 425°F, adding about 8 to 10 minutes to the first bake.
Freezing (cooked): Wrap each piece individually and freeze for up to 2 months. Thaw overnight in the fridge before reheating.
Make ahead: You can bread the chicken up to 24 hours in advance and keep it covered in the fridge. This is a handy trick for dinner parties.
Nutrition Overview
The numbers below are approximate, for one serving (1 cutlet with sauce and cheese, without pasta). They will vary by brand and ingredients.
| Nutrient | Approx. amount per serving |
|---|---|
| Calories | 420 to 460 kcal |
| Protein | 42 to 46 g |
| Carbohydrates | 20 to 24 g |
| Total fat | 17 to 20 g |
| Saturated fat | 6 to 8 g |
| Fiber | 2 g |
| Sugar | 4 g |
| Sodium | 750 to 900 mg |
What this means: This dish is high in protein, which helps with fullness and muscle maintenance. Baking instead of deep-frying cuts a good amount of fat and calories. The main watch-out is sodium, since cheese, breadcrumbs and jarred sauce all contribute. To lower it, choose a low-sodium marinara, use less cheese or season more with herbs instead of salt.
To make it lighter, use part-skim mozzarella, whole-wheat breadcrumbs and a bigger side of vegetables instead of pasta. If you’re counting calories, remember that a plate of spaghetti on the side can add 200 to 300 calories or more.
Note: This is a general estimate and not medical or dietetic advice. If you follow a specific diet, check the labels on your ingredients.
Frequently Asked Questions (FAQs)
Pound the chicken to an even thickness, don’t overbake and use a thermometer. Pull it from the oven at 165°F (74°C). Resting it for a few minutes afterward also helps.
Use panko, drizzle or spray the crumbs with oil, bake on a wire rack and keep the oven hot at 425°F. Add sauce only at the end and only to the center.
Yes. Boneless, skinless thighs are juicier and more forgiving. Pound them lightly to an even thickness and bake an extra 3 to 5 minutes.
165°F (74°C) at the thickest part, as recommended for poultry.
No, bake it uncovered so the crust crisps up. Only tent it loosely with foil if the cheese browns too fast before the chicken is cooked through.
Yes. Bread the chicken up to a day ahead and refrigerate, or freeze it uncooked. Add sauce and cheese just before the final bake.
Low-moisture mozzarella melts beautifully without making the dish watery. Freshly grated Parmesan gives much better flavor than the pre-grated kind in a canister.
A Little Background: Where Does Chicken Parmesan Come From?
Despite the name, chicken parmesan is more Italian-American than purely Italian. It’s closely related to melanzane alla parmigiana, the baked Italian eggplant dish layered with tomato sauce, cheese and basil. When Italian immigrants arrived in the United States, they adapted familiar flavors using ingredients that were affordable and easy to find, and chicken was a natural substitute. Over time it became a staple of Italian-American restaurants and home kitchens, often served over spaghetti. In Australia it’s known as “chicken parma” and is a pub favorite.
Final Thoughts
Baked chicken parmesan proves that a comforting classic doesn’t need a pan of hot oil. With evenly pounded chicken, a well-seasoned crunchy crust and sauce and cheese added at the right moment, you get a crispy, juicy and satisfying dinner with much less cleanup. It’s easy enough for a Tuesday and impressive enough for guests.
If you try it, I’d love to hear how it turned out. Leave a comment with your favorite tweaks, whether that’s extra garlic, a spicy kick or a different cheese.